Water heaters are a vital part of any home, providing hot water for showers, dishes, and laundry. However, over time, sediment can build up in your water heater tank, potentially causing serious issues. At A2Z Water Heaters, we often recommend regular flushing to prevent this buildup and keep your water heater functioning efficiently for as long as possible.
How Sediment Builds Up
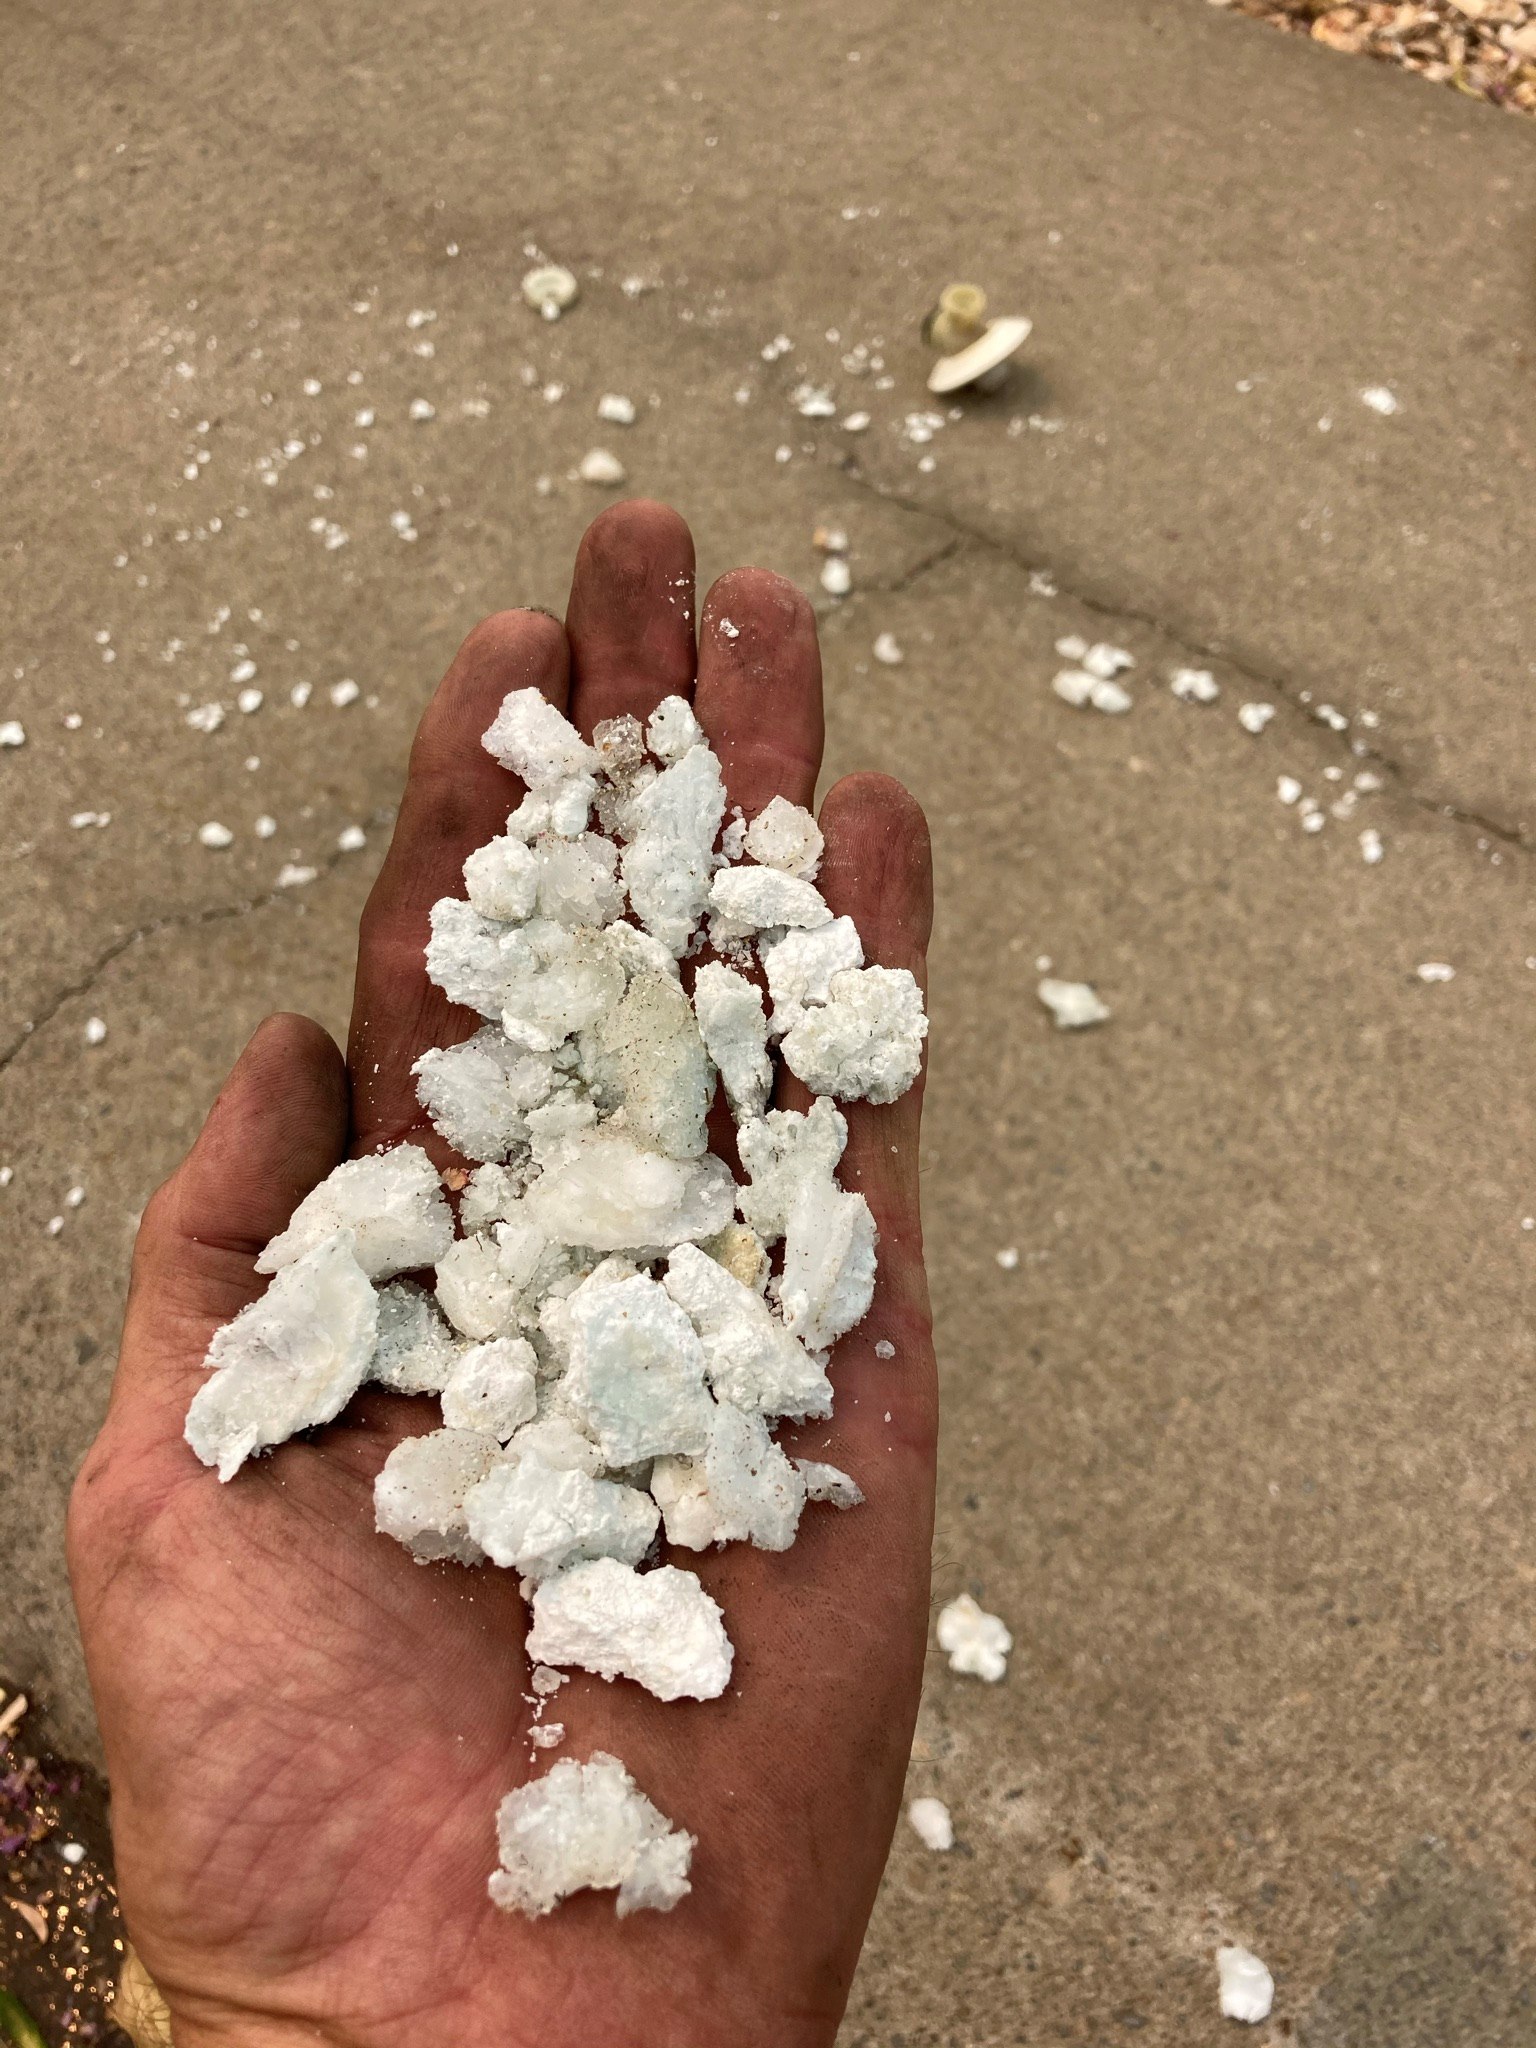
Water naturally contains minerals like calcium and magnesium, and over time, these minerals settle at the bottom of your water heater tank. This sediment creates a layer that acts as insulation between the heating element and the water, forcing your heater to work harder. The result? Increased energy bills, reduced hot water supply, and, if left unchecked, damage to the tank that can lead to costly repairs or even a complete replacement.
Sediment buildup can also cause:
- Noisy operation: You may hear banging or rumbling noises as the sediment moves around inside the tank.
- Inefficiency: The harder your water heater works to heat through the sediment, the more energy it uses.
- Corrosion: The sediment can eat away at the metal of the tank, leading to leaks or, in severe cases, tank failure.
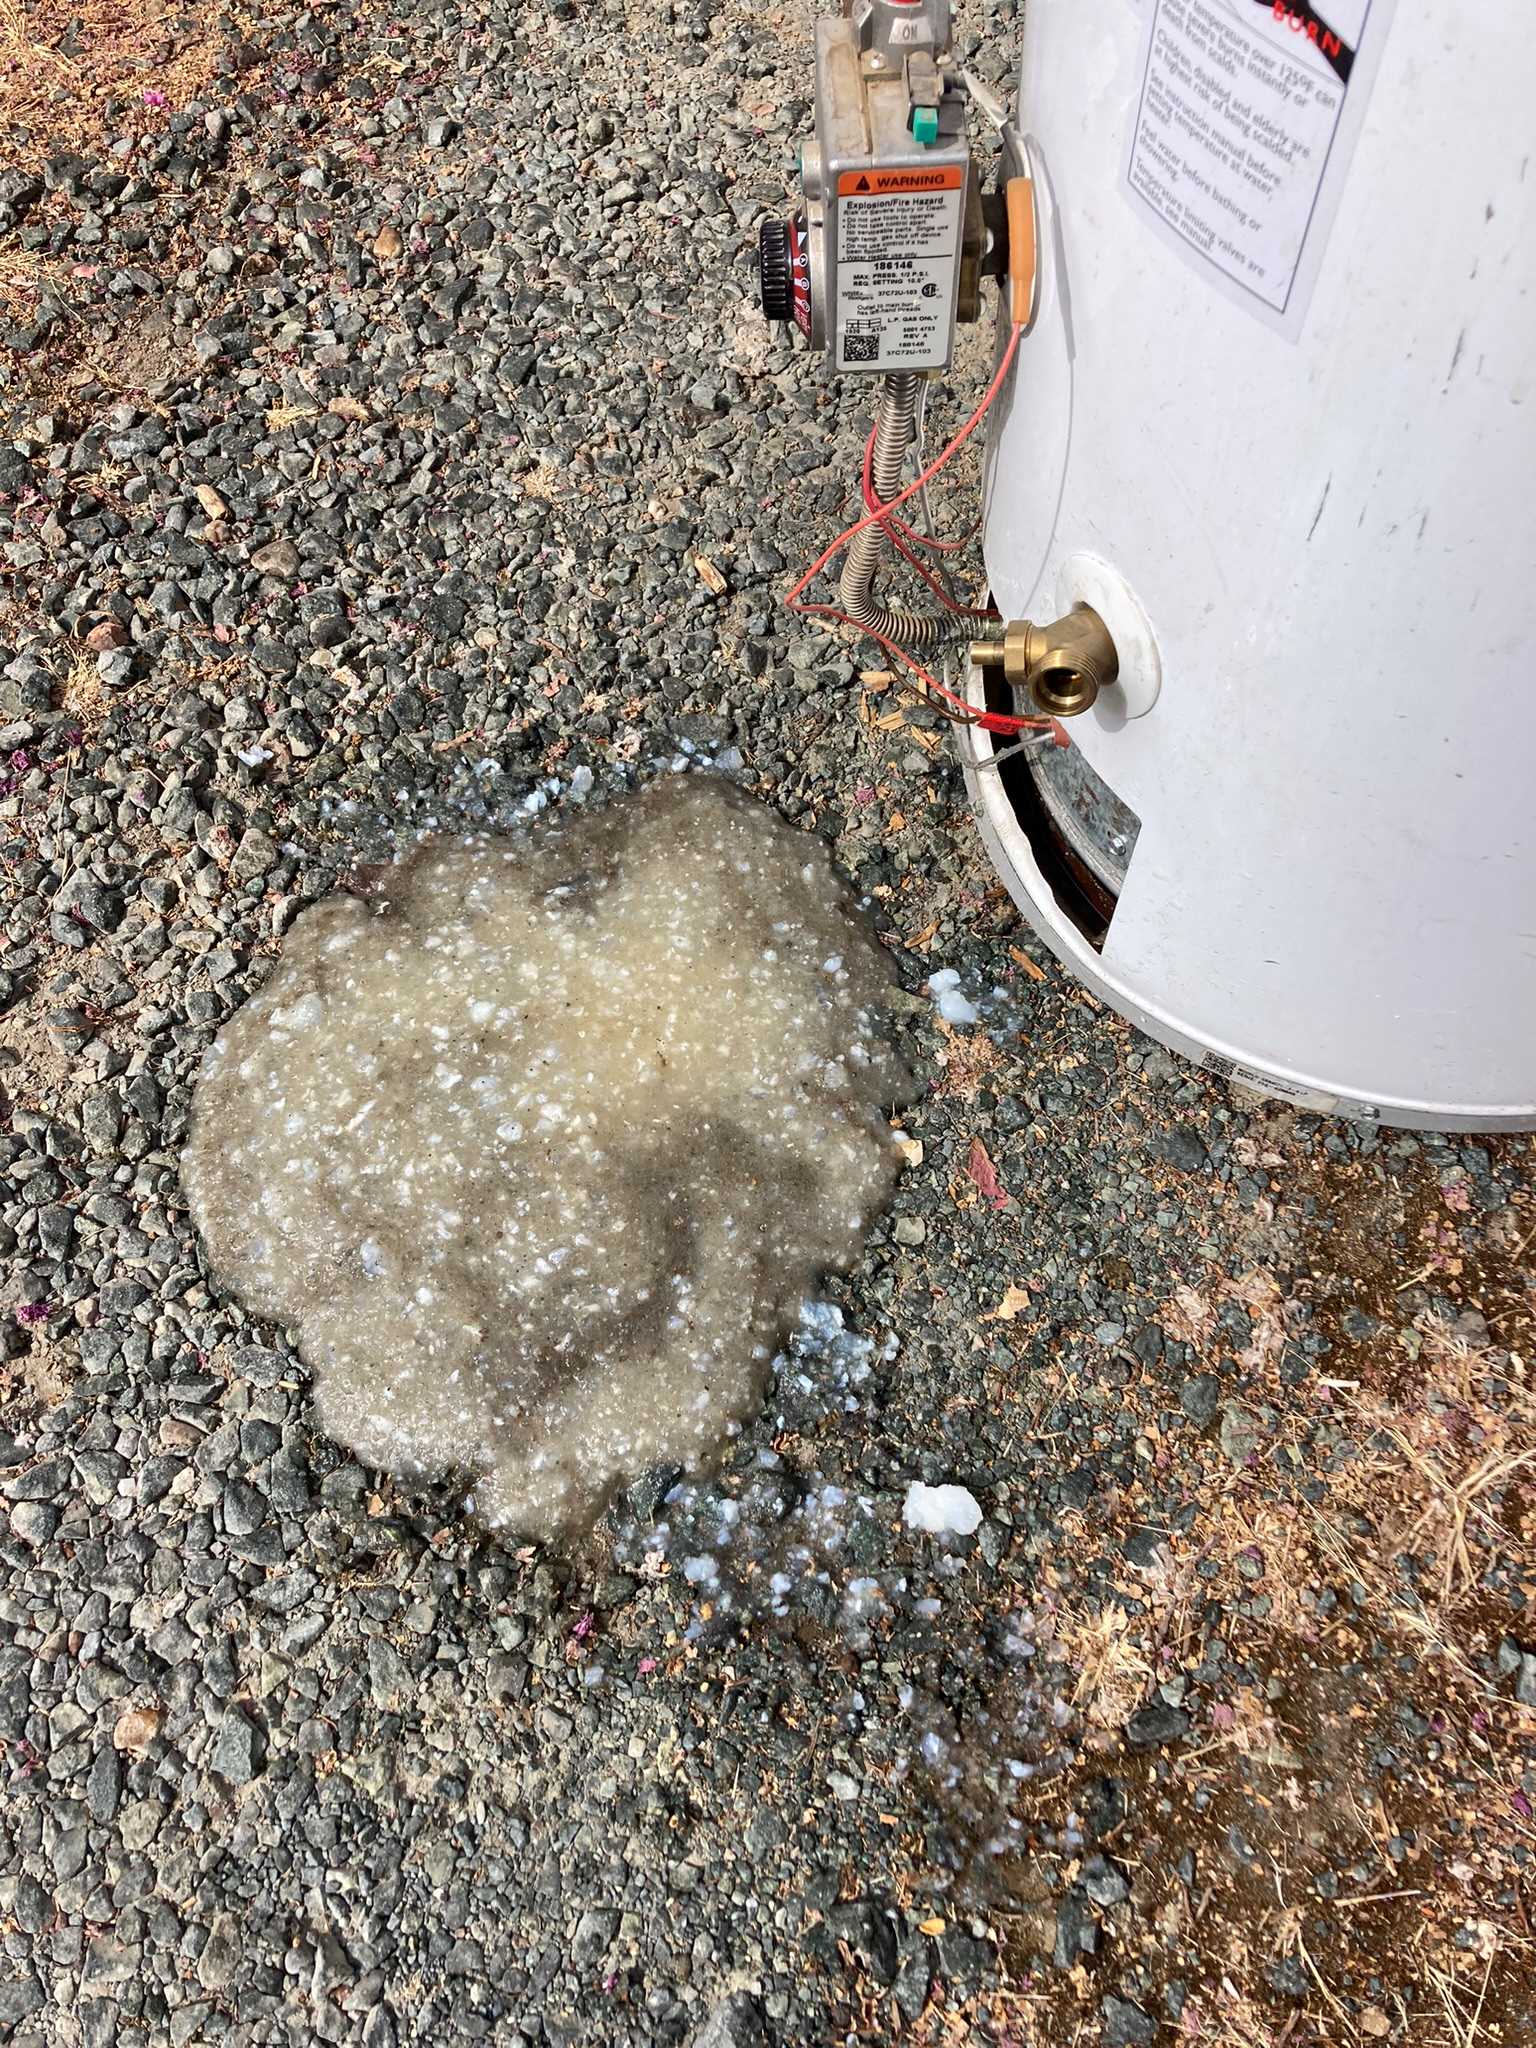
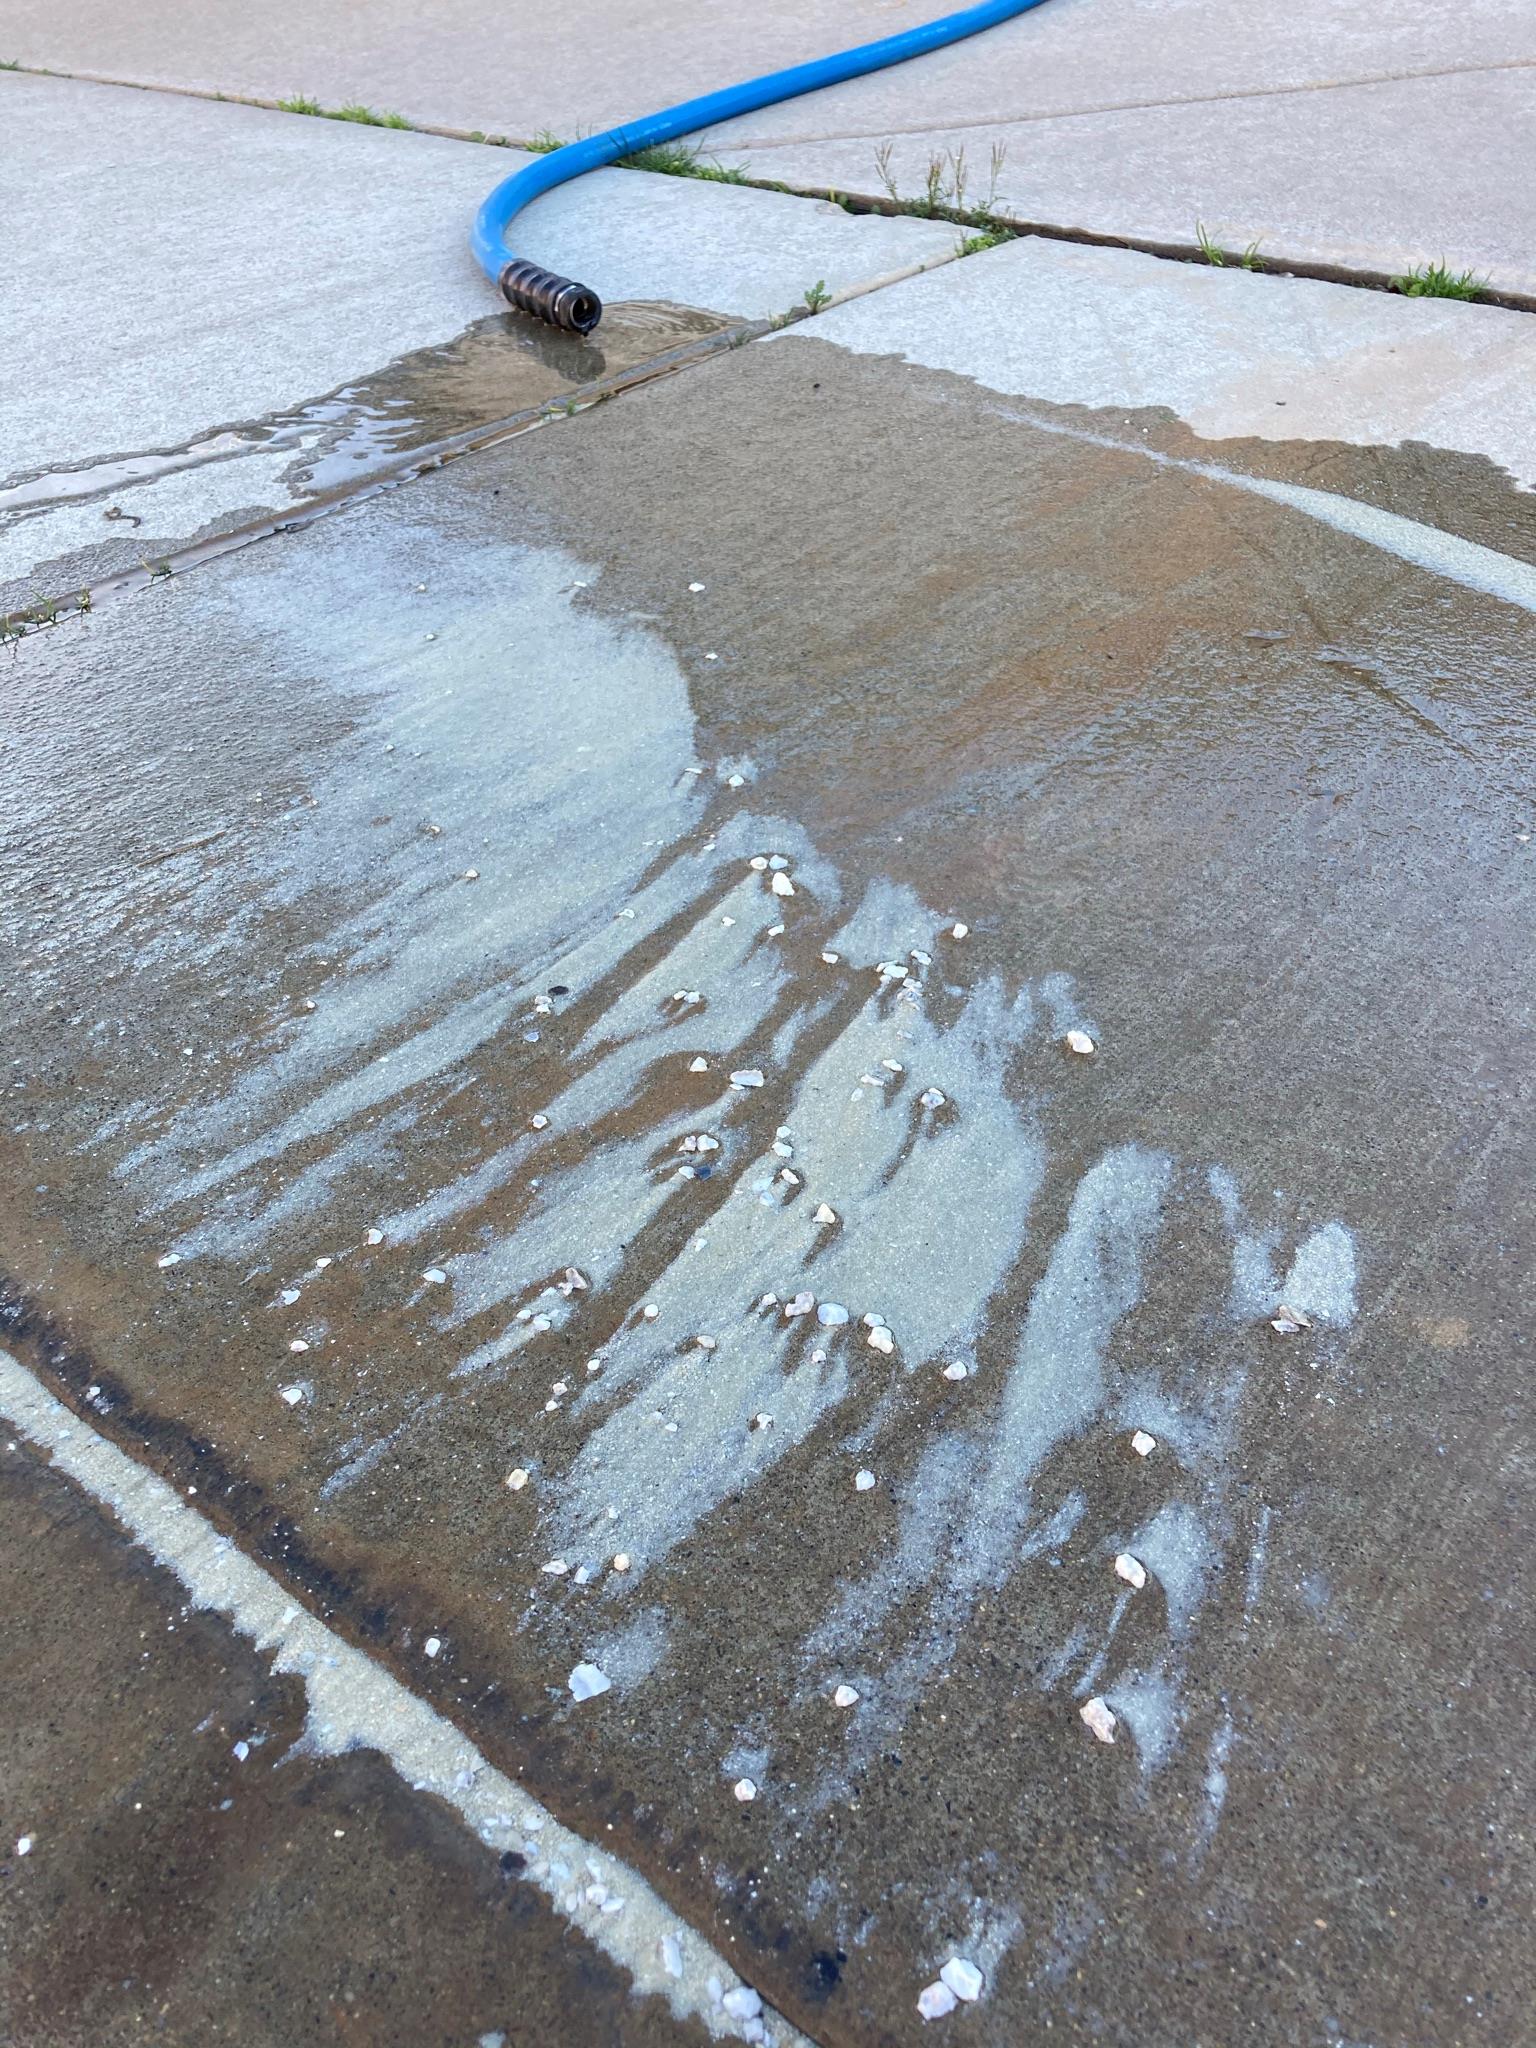
When you don’t flush your water heater regularly, this is the gunk that accumulates.
How to Flush Your Water Heater
Flushing your water heater is a simple but essential maintenance step that can extend the life of your unit. Here’s how you can do it yourself:
ALERT: IF YOUR DRAIN VALVE IS PLASTIC, WE HIGHLY RECOMMEND YOU CALL US TO FLUSH IT FOR YOU AS THE PLASTIC ONES CAN BREAK OFF SHOOTING SCALDING HOT WATER AT YOU.
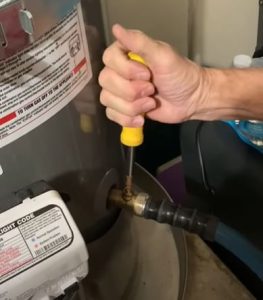
- Locate the Drain Valve: Near the bottom of your water heater tank, you’ll find a brass drain valve. The collage below is examples on water heaters we installed. We put insulation over the valve, but other plumbers might not. Locate the valve, remove insulation if there, and you’ll find the drain valve.
- Remove the Brass Cap: Take off the brass cap on the drain valve. This will expose the spigot where the water will exit.
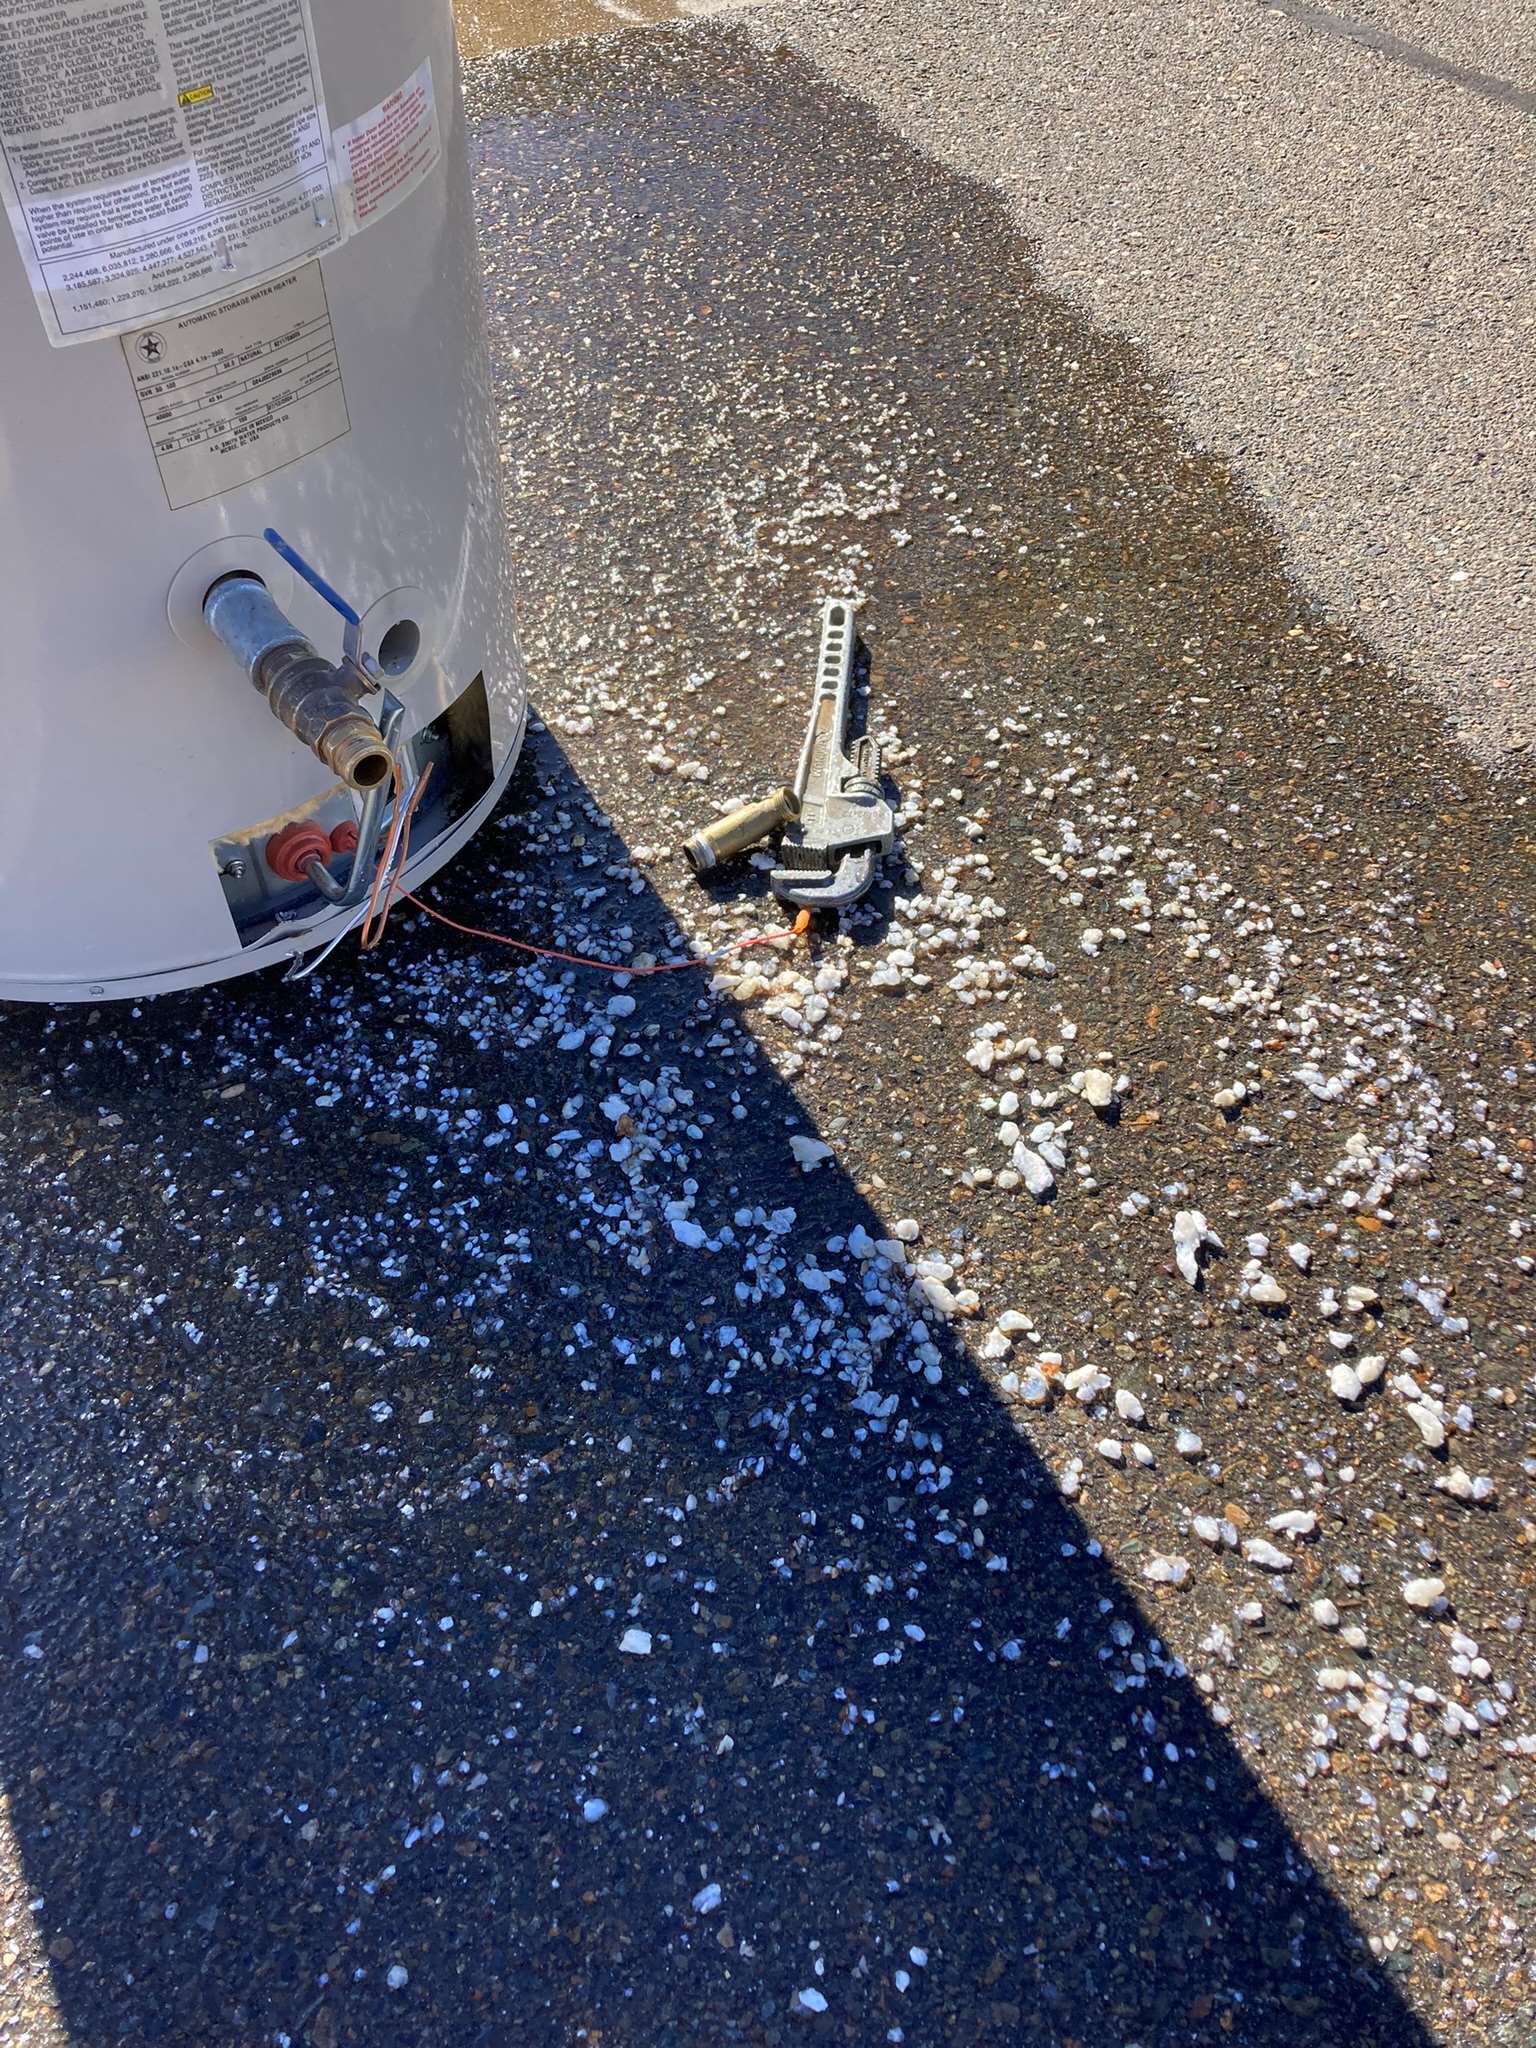
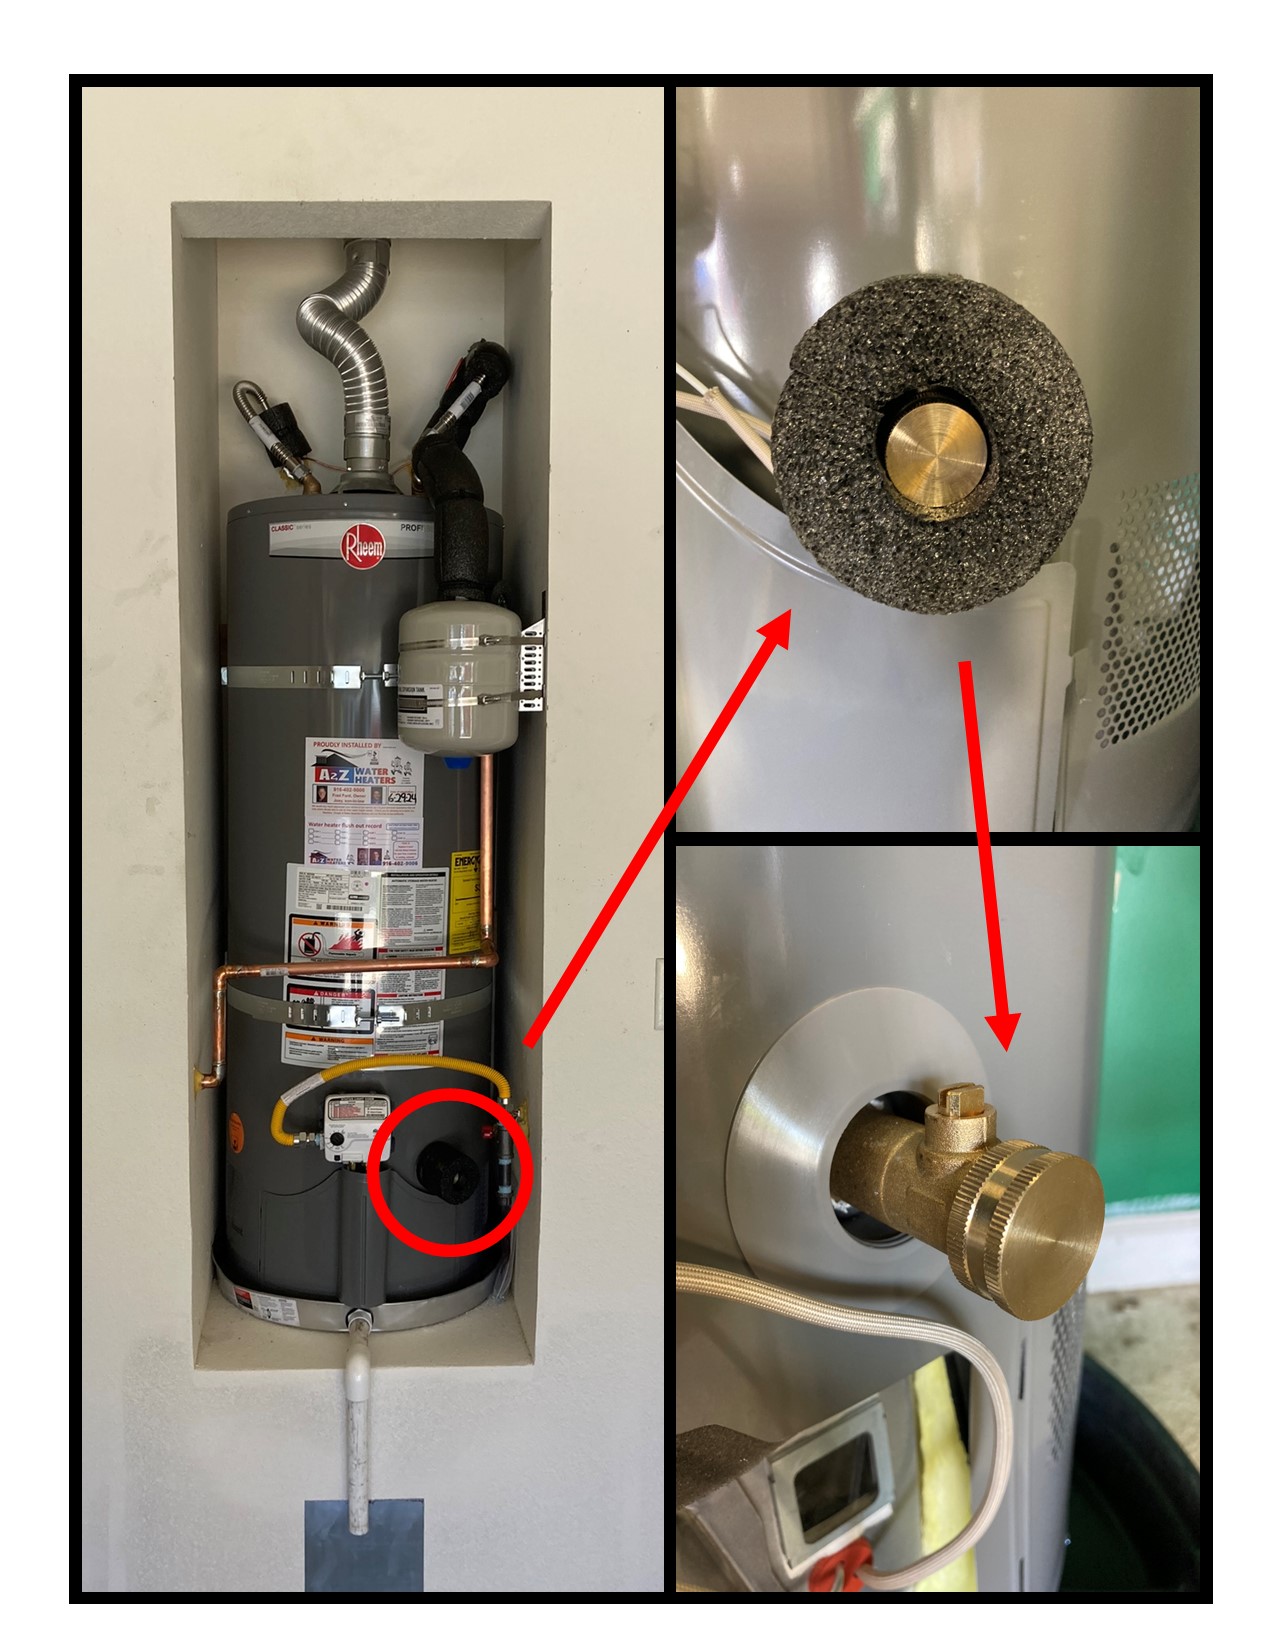
- Attach a Garden Hose: Attach any garden hose to the drain valve. Make sure the other end is over concrete as the water will be hot.

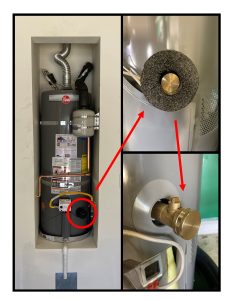
- Turn the Screw to Open the Valve: Using a screwdriver, turn the screw on the drain valve about a quarter of a turn. You should immediately hear water rushing through the hose. This water pressure is what will help flush out the sediment at the bottom of the tank, so it is important to NOT turn off your water, gas (if you have a gas water heater) or electricity (if you have an electric water heater).
- Let It Flow: Allow the water to flow through the hose onto concrete for about a minute. The pressure of the water will push out the sediment, clearing the bottom of the tank. After a minute, turn the screw back to close the valve, remove the hose, and replace the brass cap. If your water heater hasn’t been flushed out regularly, we recommend once a year, you might see sediment like the picture below.


If you would like video instruction, check out our video How to Flush Out Your Water Heater With A2Z Water Heaters.
Why Regular Flushing Matters
By regularly flushing your water heater, you prevent the buildup of sediment that can reduce your water heater’s efficiency and shorten its lifespan. It’s a simple task that can save you money in the long run by avoiding higher energy bills, costly repairs, and premature water heater replacement.
Call A2Z Water Heaters for Professional Maintenance
While flushing your water heater is a straightforward process, not everyone feels comfortable handling maintenance themselves. If you’d prefer a professional touch or if your water heater is showing signs of trouble, call A2Z Water Heaters. Fred and Joey offer free flush outs and are here to help with all your water heater needs, from inspections to repairs to replacements.
Reach out today at (916) 402-9006 to schedule an appointment and keep your water heater running smoothly for years to come.
But most importantly: Don’t wait for problems—flush your water heater regularly!